What Is a Cripple Wall? Understanding One of the Most Vulnerable Parts of Your Home During an Earthquake
When you live in earthquake-prone Marin County, protecting your home means more than just stocking an emergency kit or securing furniture—it means making sure your house can withstand seismic forces from the ground up. One of the most overlooked and vulnerable structural elements in older California homes is the cripple wall. At Victor Construction & Engineering, we specialize in identifying and retrofitting these fragile areas to ensure that your home stays upright and intact when the earth shakes. In this post, we’ll explain what a cripple wall is, why it matters, how to know if you have one, and what you can do to strengthen it before the next major earthquake.
What Is a Cripple Wall?
A cripple wall is a short wall located between the foundation of a home and the first floor. It’s usually found in houses with raised foundations and crawl spaces. Its purpose is to elevate the main structure of the house above ground level, allowing for ventilation, access to plumbing and wiring, and in some cases, aesthetic elevation on sloped lots.
Cripple walls are typically framed with wood studs and covered with horizontal siding or other sheathing. They can range from a few inches to several feet tall. While they serve a practical purpose, they can be a weak link when it comes to earthquake resistance.
Why Are Cripple Walls So Vulnerable During Earthquakes?
During an earthquake, the ground moves rapidly and unpredictably in horizontal and vertical directions. Homes that are not firmly anchored to their foundations or that have weak support walls beneath the main floor can slide, tilt, or even collapse.
Cripple walls are vulnerable because:
They lack lateral strength unless reinforced
They may be built with inadequate or outdated materials
They are often not bolted to the foundation
The wood framing can rack or collapse, acting like a hinge beneath the rest of the house
In seismic events like the Loma Prieta Earthquake (1989) and the Northridge Earthquake (1994), thousands of homes suffered major damage or total collapse due to cripple wall failure. These collapses are especially tragic because they are often preventable with proper retrofitting.
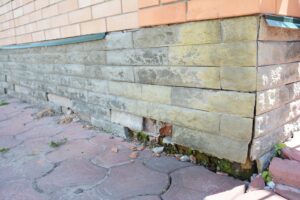
How to Tell If Your Home Has a Cripple Wall
If your house has a crawl space, it likely has a cripple wall—especially if it was built before 1980, when earthquake building codes were not yet widely adopted. You can look for a cripple wall by checking the crawl space or basement area:
If there is a short wooden wall between the concrete foundation and the floor framing, that’s your cripple wall.
If you see horizontal siding or unbraced vertical studs in this short wall, it likely hasn’t been retrofitted.
Homes built on sloped lots may have cripple walls that vary in height from front to back, increasing the risk of failure on the taller side.
Don’t see any reinforcing hardware like anchor bolts, plywood bracing, or metal framing connectors? Then your cripple wall is probably unreinforced and vulnerable.
What Is Cripple Wall Bracing or Retrofitting?
Cripple wall retrofitting is the process of reinforcing the short wall between the foundation and the first floor to improve its ability to resist seismic forces.
The retrofitting process usually includes:
Plywood Sheathing: Attaching structural-grade plywood to the interior face of the cripple wall framing to prevent racking and collapse.
Anchor Bolts: Bolting the sill plate of the wall securely to the concrete foundation.
Hold-Downs or Framing Connectors: Metal hardware that helps prevent uplift or rotation at the corners and ends of the wall.
Once complete, the cripple wall essentially becomes a shear wall—a strong, stiff plane that resists side-to-side motion during an earthquake.
What Happens If a Cripple Wall Isn’t Retrofitted?
An unreinforced cripple wall is one of the most common points of structural failure in older homes during earthquakes. The consequences can include:
Severe structural damage: The house may shift off its foundation, lean, or collapse entirely.
Injury or loss of life: A collapse often occurs suddenly, leaving little time to react.
Expensive repairs: Even partial structural failure can cost tens of thousands of dollars to fix—and many insurance policies don’t fully cover it.
Red tagging: After a quake, a building inspector may deem your home uninhabitable until repaired, leaving you displaced.
Given the potential risk, retrofitting a cripple wall is one of the most cost-effective safety upgrades you can make.
Is Retrofitting Required by Law?
In most of Marin County, cripple wall retrofitting is not yet mandatory, but some California cities—like Los Angeles, Berkeley, and San Francisco—have adopted ordinances that require it for certain properties. However, the California Earthquake Authority (CEA) and FEMA both strongly recommend it, especially for homes built before 1980.
Retrofitting may also qualify your home for insurance discounts and for grants through programs like the Earthquake Brace + Bolt (EBB) program, which offers up to $3,000 for qualifying retrofits.
How Long Does a Retrofit Take?
The good news is that most cripple wall retrofits can be completed in just a few days. There’s minimal disruption to your living space since most of the work occurs beneath the house. Permitting, inspection, and scheduling add some lead time, but the actual retrofit is relatively fast and clean when performed by a qualified contractor.
How Can I Tell If My Cripple Wall Retrofit Was Done Correctly?
If your home has already been retrofitted—especially by a previous owner—it’s essential to know whether the work was done properly. A poorly executed or incomplete retrofit offers a false sense of security and may fail during an actual earthquake.
Here’s how you can evaluate the quality of a cripple wall retrofit:
Check for Plywood Sheathing: Structural-grade plywood (not particleboard) should be securely attached to the inside of the cripple wall framing, covering the full length of each wall segment.
Look for Anchor Bolts: Metal anchor bolts should connect the sill plate (the bottom horizontal board of the wall) to the concrete foundation. These bolts should be spaced about every 4 to 6 feet.
Inspect for Hold-Down Brackets: At the ends of plywood panels, metal brackets (hold-downs) should be installed to prevent the wall from pulling away or rotating.
Examine Fastening Patterns: Nails or screws should be installed in a consistent grid pattern, not haphazardly or sparsely. Misaligned or missing fasteners weaken the wall’s shear resistance.
Check for Rust or Deterioration: Older retrofits might have degraded over time, especially in moist crawl spaces. Look for rusted hardware or signs of termite damage in the framing.
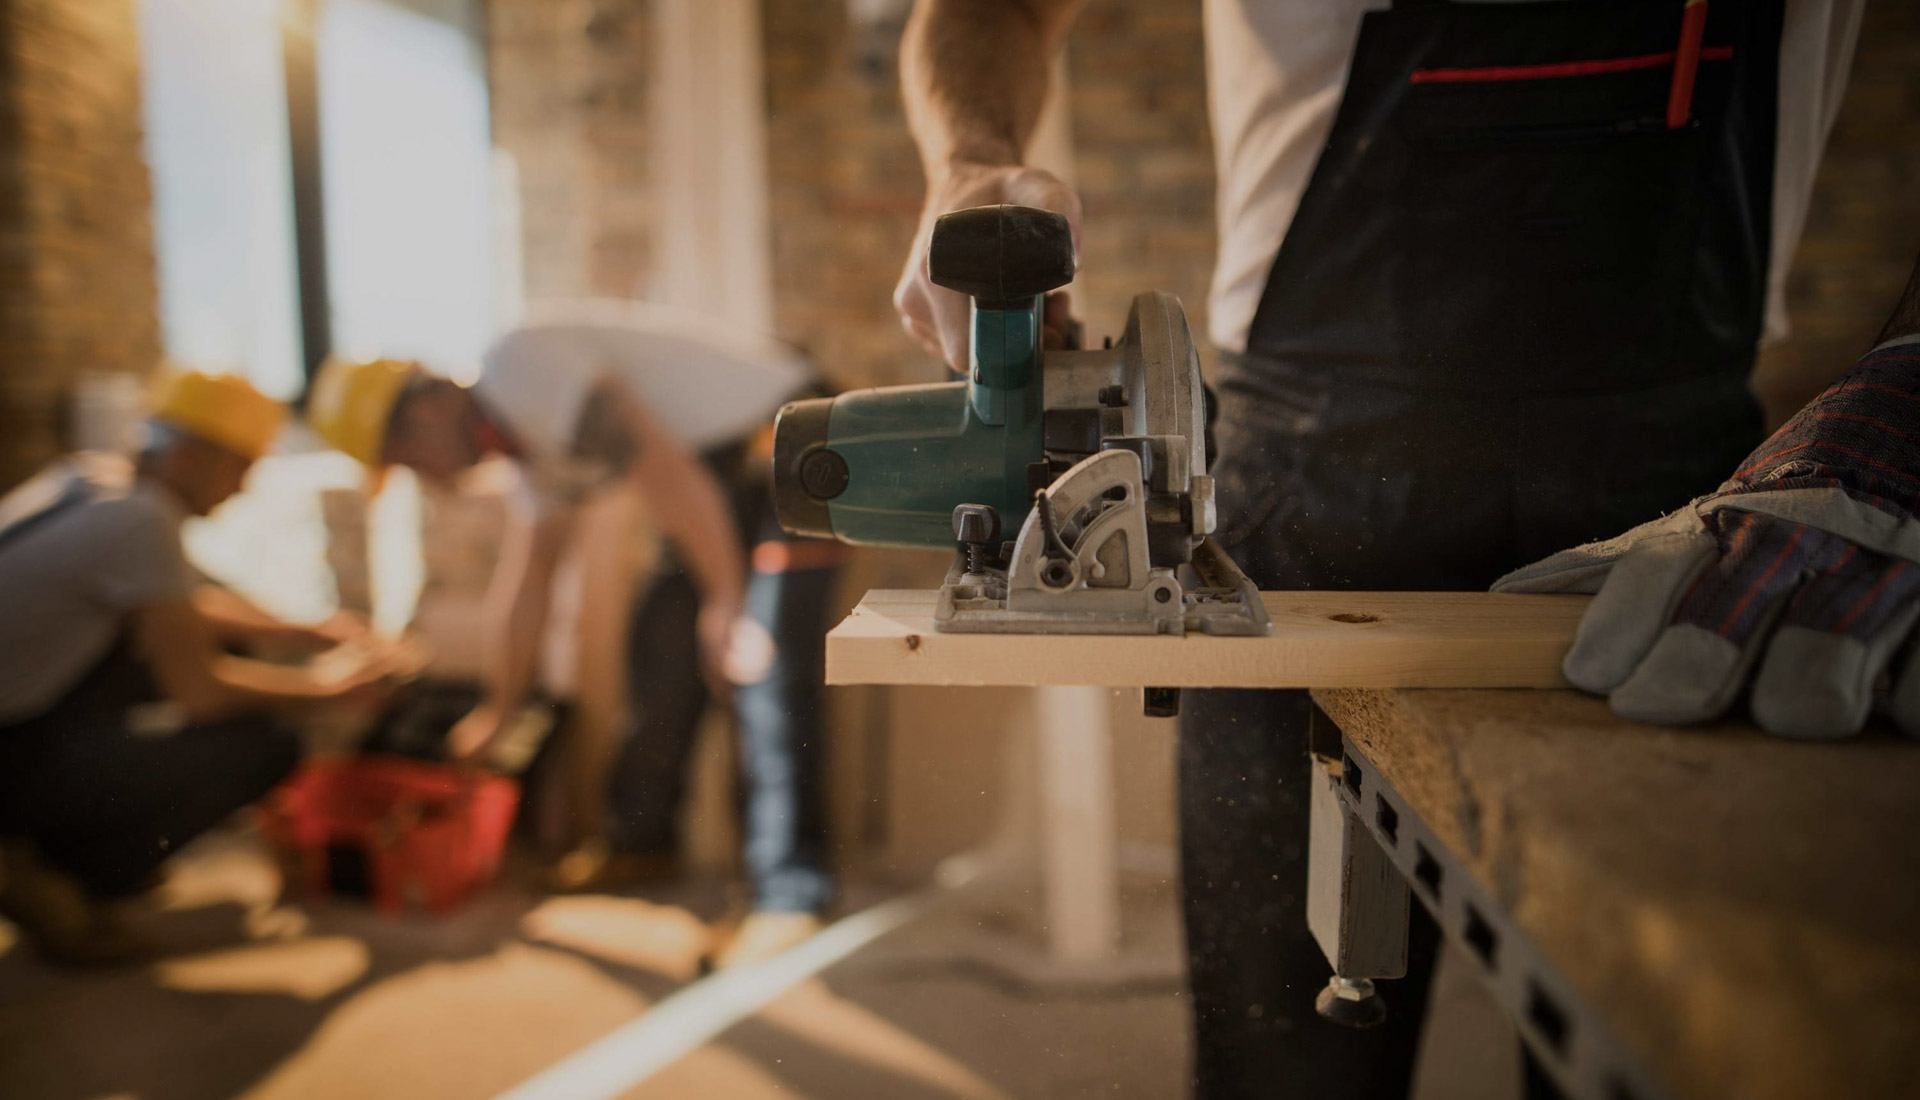
How Victor Construction & Engineering Can Help
At Victor Construction & Engineering (VCE), we specialize in cripple wall retrofitting for homes throughout Marin County and the greater Bay Area. With decades of hands-on experience in seismic retrofitting, we understand the unique vulnerabilities of older California homes—and how to fix them.
We’ve helped countless homeowners secure their homes from earthquake damage and qualify for insurance and retrofit incentives. Whether you live in Mill Valley, San Rafael, Fairfax, Novato, or anywhere else in Marin, we’re your local seismic safety experts.
Ready to find out if your cripple wall needs retrofitting? Contact Victor Construction & Engineering today to schedule your free inspection. We’ll help you understand what’s beneath your home and what steps to take to keep it standing strong when the next quake hits.