Step-by-Step: How to Start the ADU Process (From Feasibility to Final Inspection)
Starting an ADU project in San Francisco or Marin County can feel overwhelming at first, especially if you have never gone through a residential construction process before. The good news is that most successful projects follow the same general path. When you understand each stage in advance, it becomes much easier to plan your budget, avoid delays, and make informed decisions.
Step 1: Evaluate Whether Your Property Is a Good Fit
The first step is determining whether your lot can realistically support an ADU. This is the feasibility stage, and it lays the foundation for everything that follows.
At this point, a contractor, designer, or engineer will look at factors such as:
- Lot size and layout
- Existing structures on the property
- Backyard access
- Slope and grading conditions
- Utility locations
- Parking and setback constraints
- Local zoning and ADU rules
This early review helps answer the most important question: Can an ADU be built here in a practical, cost-effective way? In some cases, the answer is yes right away. In others, the property may still qualify, but the design or budget may need to change based on site conditions.
Step 2: Define Your Goals for the ADU
Before moving into design, it is important to get clear on what you want the ADU to do for you. That decision affects the size, layout, finish level, and overall return on investment.
For example, are you building the ADU to create rental income? Increase resale value? House family members or add a guest house? A homeowner building for long-term rental income may prioritize durability, efficient layout, and privacy. Someone building for multigenerational living may prioritize comfort, accessibility, and a more customized floor plan. This step matters because the best ADU design is not just the one that fits on the lot. It is the one that supports your long-term goals.
Step 3: Set a Realistic Budget Range
Once the property appears feasible, the next step is setting a realistic budget. This should include more than just construction costs.
A complete ADU budget usually needs to account for:
- Design and architectural plans
- Structural engineering
- Permits and plan review fees
- Site preparation
- Foundation and framing
- Plumbing, electrical, and mechanical systems
- Interior finishes
- Utility connections
- Contingency for unexpected conditions
This is where many homeowners make mistakes. They focus only on the base construction number and underestimate the full cost of permits, engineering, excavation, or upgrades to the main property. A realistic budget early in the process helps you avoid redesigns later and keeps the project aligned with your financial goals.
Step 4: Bring in the Right ADU Professionals
An ADU project in the Bay Area is rarely something you want to piece together without experienced help. Early coordination with the right team can save significant time and money. Depending on the project, that team may include:
- An ADU contractor
- A structural engineer
- A designer or architect
- A permit specialist
- Site survey professionals
Working with a company that understands both construction and engineering is especially important in San Francisco and Marin County, where site complexity, hillside conditions, and seismic requirements can affect the design from the beginning. A strong team will help identify risks early, guide the project through approvals, and create a plan that is actually buildable.
Step 5: Complete a Site Visit and Feasibility Assessment
Once the initial goals and budget are defined, the next step is a more detailed site review. This often includes an on-site assessment to look at the property in person.
During this stage, professionals may review:
- Drainage patterns
- Soil and grading concerns
- Easements or access limitations
- Utility tie-in locations
- Existing foundation and structural conditions
- Tree placement or obstructions
- Buildable area for a detached or attached ADU
This step is critical because two properties with similar lot sizes may have very different construction challenges. A flat backyard with clear access is very different from a sloped lot with retaining walls, limited access, or underground utility complications. The more accurately these conditions are identified upfront, the more accurate your budget and timeline will be.
Step 6: Develop the ADU Design and Floor Plan
After feasibility is confirmed, the design process begins. This is where the project moves from concept to an actual set of plans. The design phase usually includes:
- Determining ADU size and footprint
- Choosing between attached, detached, or conversion options
- Creating the floor plan
- Positioning doors, windows, and outdoor access
- Planning kitchen, bathroom, and utility locations
- Aligning the design with code and zoning requirements
In the Bay Area, good ADU design is not just about aesthetics. It also needs to consider privacy, natural light, storage, layout efficiency, and resale value. A well-designed ADU should feel functional and livable, not cramped or compromised. That is especially important if the goal is rental income or increasing property value.
Step 7: Prepare Engineering and Construction Documents
Once the layout is approved, the project moves into technical documentation. This is where the design becomes detailed enough for permit review and construction.
This phase may include:
- Structural calculations
- Foundation plans
- Framing details
- Seismic reinforcement requirements
- Energy compliance documentation
- Title 24 or similar code-related requirements
- Detailed construction drawings
In San Francisco and Marin County, structural engineering is especially important because local building conditions often require careful attention to lateral loads, earthquake resistance, and foundation design. This is one of the most important stages in the entire process because incomplete or inaccurate plans can lead to permit corrections, delays, and added cost.
Step 8: Submit for Permits and Respond to Plan Review
Once the plans are ready, they are submitted to the local jurisdiction for review. This starts the permitting process.
During permit review, the city or county may check for:
- Zoning compliance
- Building code compliance
- Fire safety requirements
- Structural adequacy
- Energy compliance
- Utility and drainage considerations
It is common for the reviewing agency to request revisions or clarifications. That does not always mean something is wrong. It is often just part of the process. However, clear and well-prepared plans usually move through review more efficiently. This is another reason why working with experienced ADU professionals matters.
Step 9: Finalize Pricing and Construction Scope
Once permitting is underway or nearing approval, the construction team can usually finalize the scope and pricing more precisely. At this stage, the project should have a clearer picture of:
- Labor and material costs
- Site prep requirements
- Timeline expectations
- Interior finish selections
- Utility work
- Inspection milestones
This is also the time to make final decisions on finishes, fixtures, and any optional upgrades. Waiting too long to decide on materials or layout changes can slow the project down once construction starts. A clear contract and defined scope help reduce misunderstandings and keep the build on track.
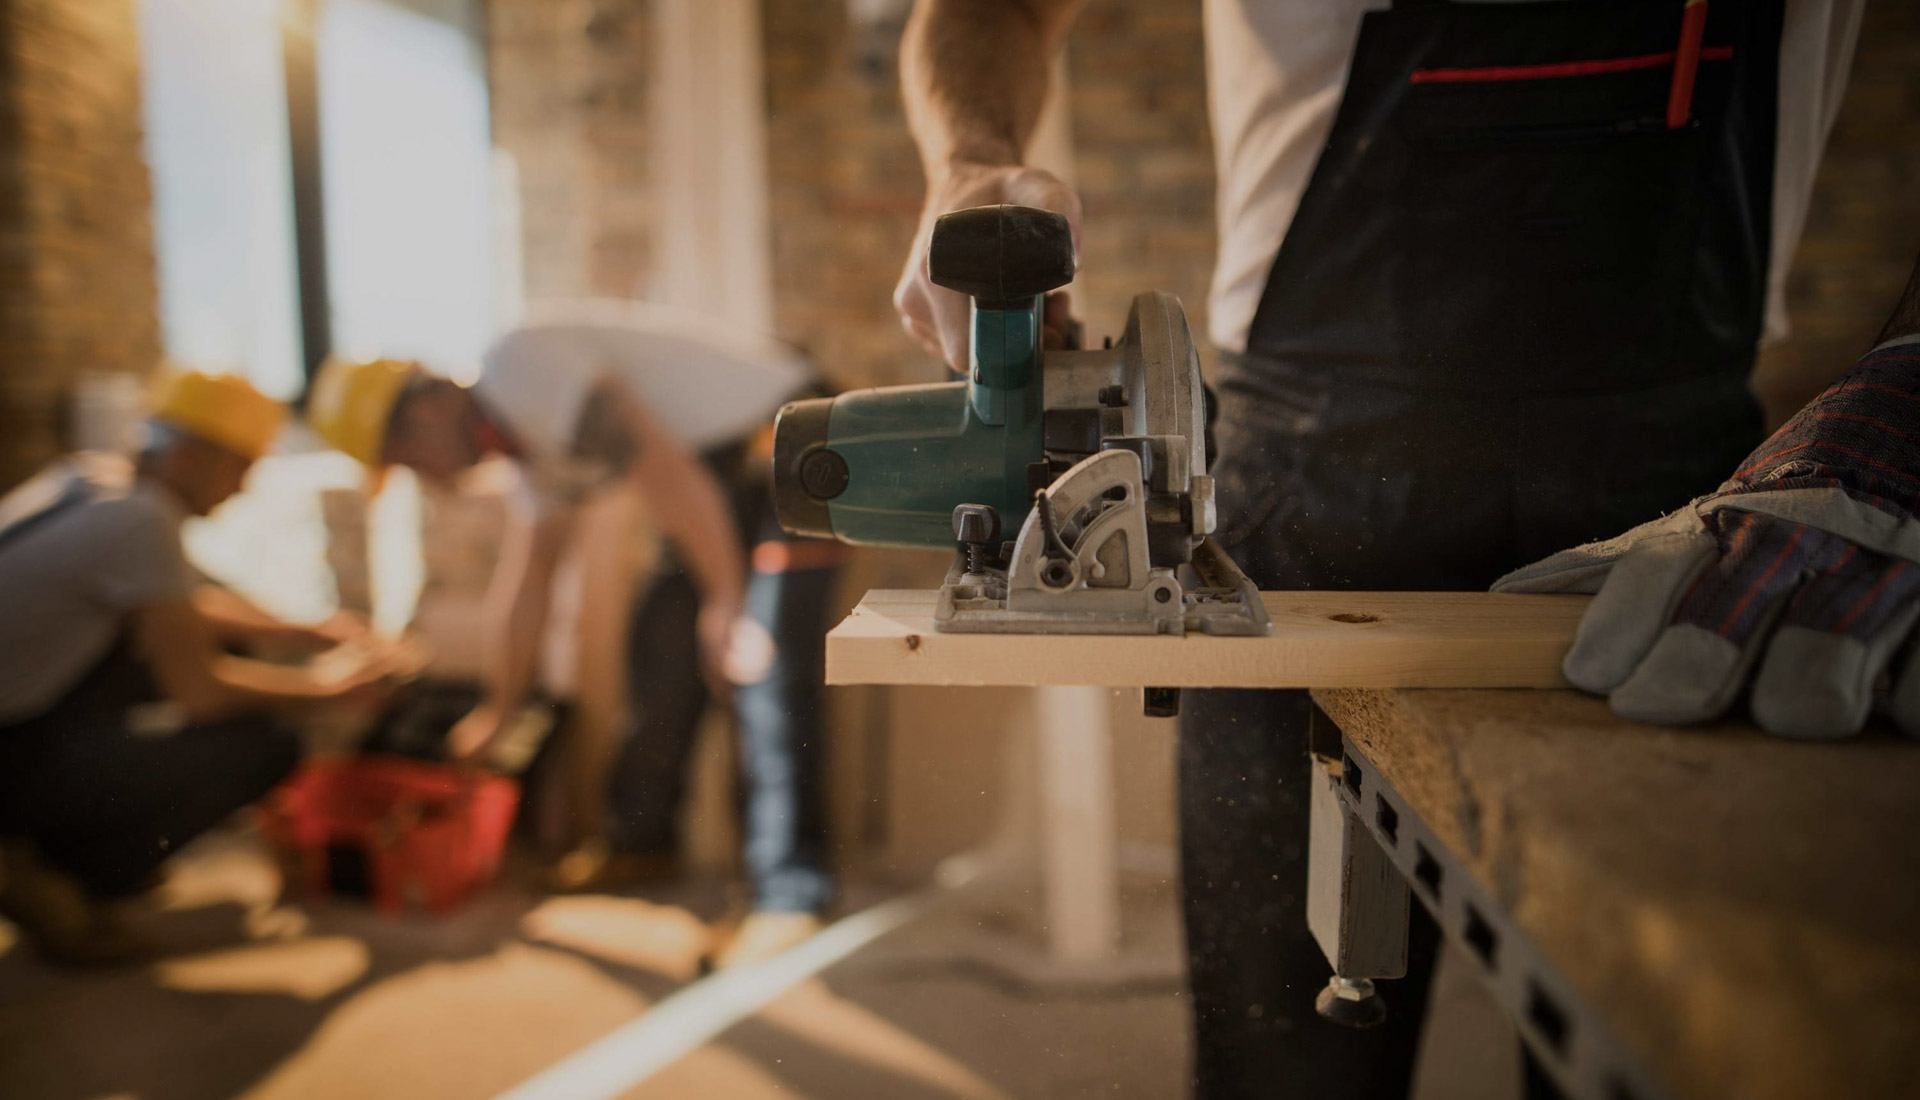
Step 10: Begin Site Preparation and Construction
After permits are approved, physical construction begins. This usually starts with preparing the site for the build. That may include clearing the build area, demolition if needed, excavation or grading, utility trenching, and foundation work. From there, the ADU moves through the major construction phases:
- Framing
- Roofing and exterior enclosure
- Windows and doors
- Plumbing, electrical, and HVAC rough-ins
- Insulation and drywall
- Interior finishes
- Cabinets, flooring, fixtures, and paint
This is often the longest phase of the project, but it is also where the vision starts becoming real.
Step 11: Schedule Required Inspections During Construction
An ADU is not inspected only at the end. Inspections usually happen at multiple stages during the project.
These may include inspections for:
- Foundation and footings
- Framing
- Electrical
- Plumbing
- Mechanical systems
- Insulation
- Final completion
Passing inspections is necessary for the project to move forward. If corrections are required, they must typically be addressed before the next stage continues. Staying organized during this phase helps prevent unnecessary delays.
Step 12: Complete Final Inspection and Project Closeout
Once construction is complete, the final inspection is scheduled. This is the last major step before the ADU is ready for occupancy or use. During final inspection, the building department may confirm that:
- The construction matches the approved plans
- Required life safety features are in place
- Systems are functioning properly
- Code requirements have been met
- Any prior corrections have been resolved
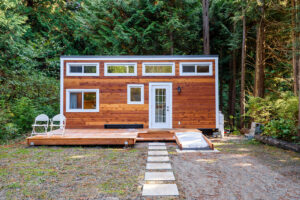
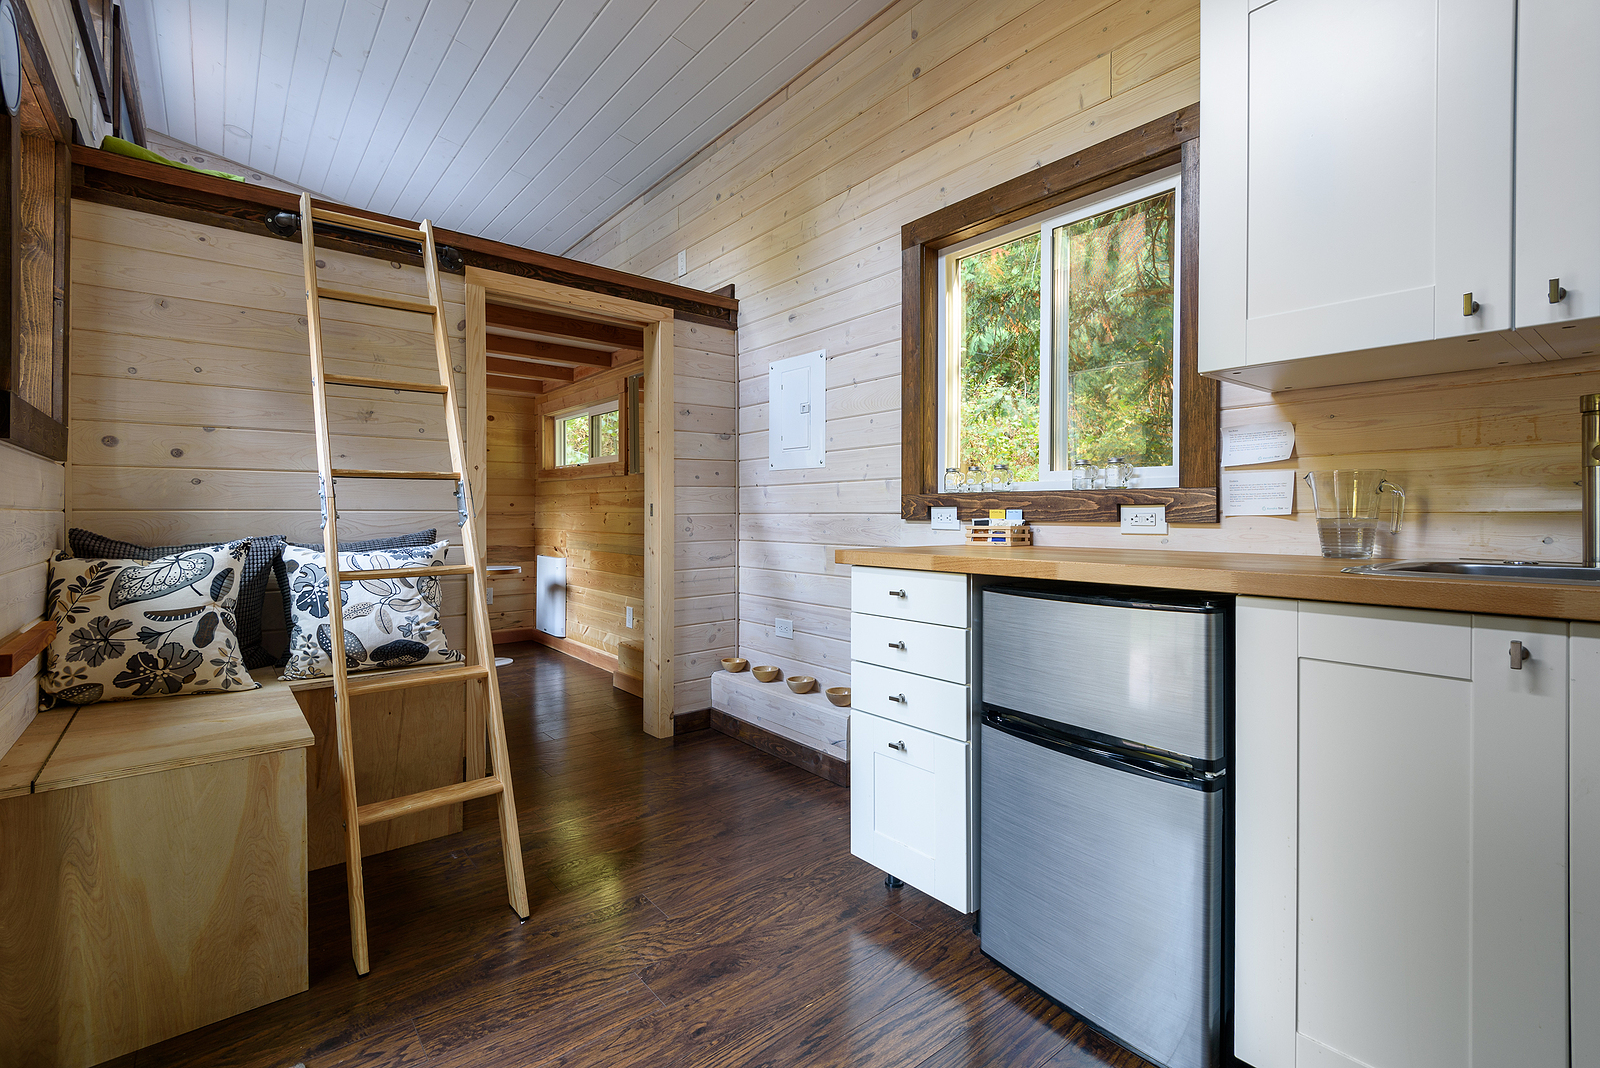
After final approval, the ADU is typically ready to be occupied, rented, or used as planned. This is the point where the project shifts from a construction process to a finished asset that can add living space, generate income, and increase property value.
Why the Process Goes More Smoothly with the Right Team
The ADU process involves much more than building a small second home. It requires coordination between zoning, design, engineering, permits, inspections, and construction. In San Francisco and Marin County, that complexity is even greater because of seismic standards, high construction costs, and site-specific challenges. Working with an experienced Bay Area team helps streamline the process from the very beginning. Instead of guessing your way through feasibility, permitting, and inspections, you can move forward with a plan that is grounded in local experience and realistic expectations.
The Bottom Line
If you are thinking about building an ADU, the smartest first move is not jumping straight into construction. It is starting with a feasibility review, clear goals, and a team that understands how to guide the project from concept to final inspection. When done right, the ADU process becomes much more manageable, and the result is a finished space that can add flexibility, rental income, and long-term value to your property.
Start Your ADU Project with Confidence
Building an ADU in San Francisco or Marin County requires more than just a good idea; it requires the right team, the right plan, and the right execution.
Whether you’re still exploring feasibility or ready to move forward with design and construction, Victor Construction & Engineering can guide you through every step of the process, from initial site evaluation to final inspection. Contact us to learn more.